Diamond in the Rough
| |
| Also called? | DitR |
|---|---|
| Release date | 26 September 2012 (Update) |
| Members only? | Yes |
| Quest series | Desert |
| Official difficulty | Novice |
| Official length | Short |
| Developer | Stephen R |
Diamond in the Rough, released on 26th September 2012, is one of the two novice quests featuring Ozan in the Al-Kharid's graphical update. It is available to members only.
Walkthrough
| Start point: | ||
| Members only: | Yes | |
| Official difficulty: | ||
| Description: | None | |
| Length: | Short - Medium | |
| Requirements: |
| |
| Items required: | Recommended Items:
| |
| Enemies to defeat: |
|
Stealing the diamond yet again
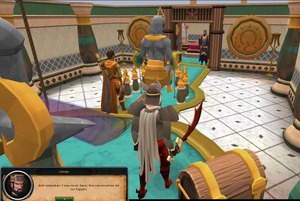
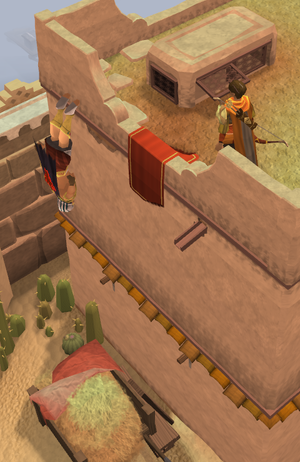
To begin, speak to Osman directly after finishing Stolen Hearts. He will instruct you to speak to Ozan, Ozan is located directly outside the palace. After talking to Ozan a cutscene will begin where Osman provides instructions in rescuing Prince Ali. Once the cutscene is over, Ozan implores you to take the heavy weight (from the Het scales in front of the statue) and to leave once again (via the rope) and then you may use the lodestone teleport after taking the heavy weight, preferably just back into Al Kharid proper, upon which Ozan will remark that it was a lot safer than jumping off of the palace roof and will follow you.
From the top of the castle, drop down from the roof and return to the bank via the rope Ozan fired during the previous quest. Perform an "eagle jump" into the cart South of the bank, then run to the Shantay Pass.
Alternatively, players can use the Al-Kharid lodestone teleport and then run to the Shantay Pass. After arriving at the lodestone, Ozan will comment that teleporting was more sensible than dropping off the rooftops.
Into the Desert
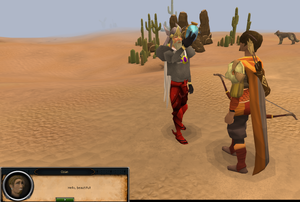
Speak to Shantay to attempt to pass into the desert. He will stop you if you have any of the outdated Shantay Passes and the diamond will speak through him. Before you pass through, he will give you four waterskins, even if you have an enchanted water tiara.
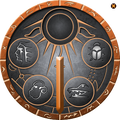
Once in the desert, run through the chat options with Ozan and he'll ask you if you wish to continue. Respond in the affirmative and the Kharid-ib will be open and make a screeching sound. A sundial will appear which guides you to your destination. In order to discover the destination, get the dial to align with the symbol the sundial is associated with. For instance, Het is human, so point the dial towards the human face.
Bandit attack!
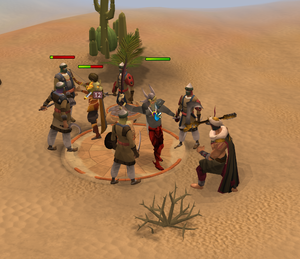
Follow the ray of sun South West and a cutscene will occur at the next dial, where bandits will ambush you and the diamond will speak through one of them. Dispatch the bandits and their king to continue (they will drop tuna and waterskins which may come in handy - note that the battles are instanced, so one cannot pick these up once the sundial gnomon has been picked up). The leader of the bandits drops a sundial gnomon which was missing from the Apmeken sundial. Use the gnomon with the sundial and point towards the head of the monkey, then run north-west after the dialog with Ozan.
Note: Once you head south-west to the other sundial, Ozan will talk. Clicking outside of the chatbox will send you back a few steps.
-
The sundial interface
-
A figure emerges from the sand...
-
It's the bandit king!
-
Attack of the bandits!
Scabaras Strikes
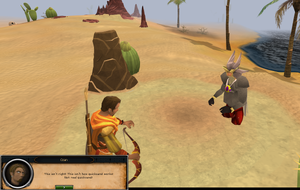
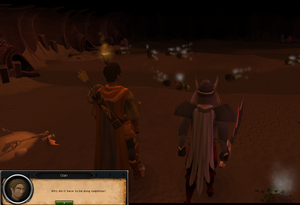
At this sundial location, another gnomon will appear, but this time you and Ozan will be stuck in quicksand. Exhaust all the options trying to escape, none will work. You will be transported into a small cavern and momentarily stunned, while a critter scurries away with the diamond (which must have fallen from your inventory). Inside the cavern is the sundial of Crondis. Ozan complains about his injured leg and sends you off to search the tunnels in solitude. Enter any tunnel, and you re-emerge in the room with Ozan. After a few rounds of Ozan joshing about this, it becomes apparent Ozan is sitting on the sundial gnomon.
Once again, inspect the sundial (Crondis having a crocodile head) and follow the sunbeam. In the tunnel Ozan once again complains about his injured leg, so you are unable to run. At the end of the tunnel you arrive in a pitch-black room. Eventually Ozan discovers a torch, revealing that the room is infested with dung kalphites. You must recover the diamond from the dung the kalphites are rolling around by left clicking them. Incorrect dung may yield tuna, bronze equipment, nothing, or rarely, other gems. Ozan will aid in slicing open dung kalphites also.
Look for the kalphites that sparkle and shine. These will hold gems, and then finally after collecting a sapphire, emerald, and ruby, you will find the diamond. When the diamond has been found, a hole will appear in the ceiling through which Leela will talk to you and Ozan, aiding your escape from the cavern. Navigate the discussion between Leela and Ozan, then point the sundial towards the insect.
Amascut Attack
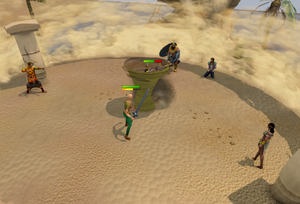
Follow the sun beam for the final time towards "the lion's mouth": the ruins of the Temple of Amascut. Once here, speak to Lady Keli to initiate a cutscene. Lady Keli demands the diamond. If you refuse, Lady Keli becomes increasingly belligerent, threatening to kill all present if they do not comply. When you say yes to giving her the diamond, the diamond inveighs against its surrender through Keli's guards, though you are eventually swayed into delivering it to her. Lady Keli protests at being called crazy and reveals she is Amascut. Before departing, she sets her guards on you, Ozan, and Leela.
Apep yells out "Dervish". If you do not run away from him during this attack, you are briefly stunned and knocked back (somewhat similar to the dragon spear's special). Heru may blind you with his shield, but is otherwise a fairly simple fight.
-
The devourer!
-
Amascut creates a Sandstorm
-
Amascut leaves via tornado
Prince Ali Rescue

Once both guards are defeated, click on Prince Ali to rescue him and initiate another conversation. You will be returned to the Palace at the end of it with the prince and Leela, and Ozan goes off to recover the diamond. Osman and Leela will argue and then a cutscene featuring Amascut's plotting (with Jabari's complicity) will display. Quest complete!
Rewards
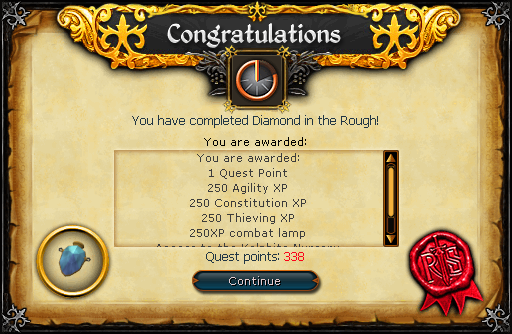
- 1 Quest Point
- 250
 experience
 - 250
 experience
 - 250
 experience
 - 250 Experience Combat lamp
- 1 sapphire, 1 emerald, 1 ruby (if picked up from dung kalphites)
- Access to the Kalphite nursery where you can obtain Aten (heru's shield) and Uraeus (apep's axe) from slicing dung kalphites
- 2 Spins on the Squeal of Fortune
Hidden Reward
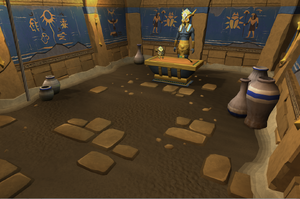
- Players with level 80
 (boosts may be used) can mine a fissure in the room below the quicksand for 20,000 Mining experience (plus bonus if the mining suit is worn) and access a secret treasure room, which contains a Scabaras mask and a Was (sceptre). To reach the fissure room, go down the well (north-west of the Kalphite Lair, fairy ring BIQ) and go in the tunnel in the east wall of the Kalphite nursery. Then go through the tunnel all the way to the other side and enter. You will find yourself in the room below the quicksand. Please note that the golden mining suit, mining pendants, prized mining pendants, and Gofannon amulets, all work to add bonus xp when mining the fissure. A clan ring charged at the mining plot, however, will not award any bonus experience.
 - Players with 80 Agility can climb into the fissure in the south wall of the Monkey Colony and will gain 20,000 Agility xp and can pick up an Ankh and a Apmeken Mask.
Music unlocked
Required for completing
Completion of Diamond in the Rough is required for the following:
Trivia

- Diamond in the Rough and its sister quest, Stolen Hearts, have elements of the old quest Prince Ali Rescue, which has now been removed from the game.
- The conversation between Osman, the player, and Ozan when being locked in the vault is a reference to Harry Potter and the Prisoner of Azkaban, where a similar situation arises between Albus Dumbledore, Harry, and Hermione Granger.
- The cutscene where Ozan exclaims "Dung Kalphites. Why did it have to be Dung Kalphites?" is a reference to Indiana Jones and his fear of snakes: "Snakes. Why'd it have to be snakes?".
- The "Eagle jump" and cart with hay are both references to Assassin's Creed where the player can perform a leap of faith off a building from an eagle's perch into a cart filled with hay.
- The adventurer shown on the quest's poster is identical for the on What's Mine is Yours.
- When escaping the Kalphite nursery via the rope Leela lowers, Ozan tells the character to keep what happened in the cave to themselves, using the phrase "What happened down here, stays down here.", a reference to the saying; "What happens in Vegas, stays in Vegas."
- After escaping the Kalphite Nursery, Ozan says to Leela, "It's no Cave of Wonders." This is a reference to a story in One Thousand and One Nights.
- If you have completed the quest, Missing My Mummy, Leela will tell Osman that she is returning to Senliten, saying "We're doing actual good there."
- There are currently only 2 secret chambers, though more may still be released.
- When attempting to destroy the Ankh obtained from Apmeken's tomb, the destroy message incorrectly reads "You can get another was relic by re-entering the Apmeken tomb."
- The Abyssal vine whip's special, Vine call, is capable of dealing more than 50 damage per hit against Heru and Apep. This will only happen if you are hitting them whilst not in direct combat with them.
- This quest can not be started with an account using the trial membership.
- This quest references the Disney movie Aladdin.

